
Are you wondering how to create your first media kit as a travel content creator or influencer? Well, take it from me. I’ve worked with brands since 2017 and have created my fair share of media kits. Some terrible ones in the beginning and some very good ones if I do say so myself.
Have you ever heard the saying “the first impression is the last impression”? You rarely get a second chance to make that first impression, especially when it comes to pitching brands.
As a travel content creator/influencer, it’s important to be professional and polite from the very start and present your best version of yourself and what you can offer. And the best way to do that is with a media kit also known as a press kit.
In this guide, I will go over why you need a media kit, how to create a media kit, how long your media kit should be and what you should include in your media kit.
🌟 My favorite media kit/case study template is included in the Travel Creator Toolkit
Article overview
What is a media kit for content creators & influencers?
For bloggers, content creators and influencers, a media kit is a document that outlines key information about your blog, personal brand and what you do best. It’s like your portfolio, resume, and digital business card all in one easy-to-read document.
Generally, a media kit is given to brands you would like to work with. Either as a physical version, you hand out at conferences or a digital version you can attach to your pitch emails.
Why you need a media kit
When pitching to potential brand partners you have one chance to “wow” them and give them all the information they need to consider you for the job. As we all know there are many other bloggers and influencers in competition for any deal, so an inspiring and professional media kit is a great way for you to stand out from the crowd.
And another reason why I think a media kit is so important is that people can quickly look over everything without having to spend time searching for your accounts and trying to figure out that information on their own. You do the work for them by providing a summary.
The easier you make it on the potential brand partner the better your chances of landing the deal.
With that said, not everyone you send your media kit to is going to read it. Some might even think they are unnecessary. But in my mind, having a solid media kit shows that you take this job seriously and definitely deserve to get paid for your work.
🌏 In the travel niche? Working with brands is great, but financial freedom comes from passive income such as affiliate marketing. So be sure to sign up as an affiliate for TravelPayouts where you find most big names in the travel industry under one roof.
How to create a media kit
There are many ways to create a media kit. The most important thing is that it looks professional, clean and gives the brand all the information they need to decide whether or not you’re the right person for the job.
Think of it as if you’re looking to buy something online. When you go onto the brand’s website and it looks like it was created in 1998 with red and yellow Comic Sans text on a black background, you would probably begin to wonder if the business is even trustworthy. At least that’s how I am.
For some, the design of a media kit might not be the most important thing. But in my mind, it shows that you have put energy into creating a beautiful document, which means that you will probably also put a lot of effort into creating quality content for the brand.
If you don’t have any design experience or want to pay for professional design software, web-based design platforms like Canva and PicMonkey are your best options.
On Canva you can sign up for a totally free account that you can do a lot with. I wasn’t a fan of Canva in the beginning but they have come a looong way. These days I even use Canva for some client work.
If design isn’t your thing, consider purchasing a Canva media kit template or use one of the free ones in Canva. Why waste hours creating one from scratch when you can buy or use a readymade template that you know will look good?
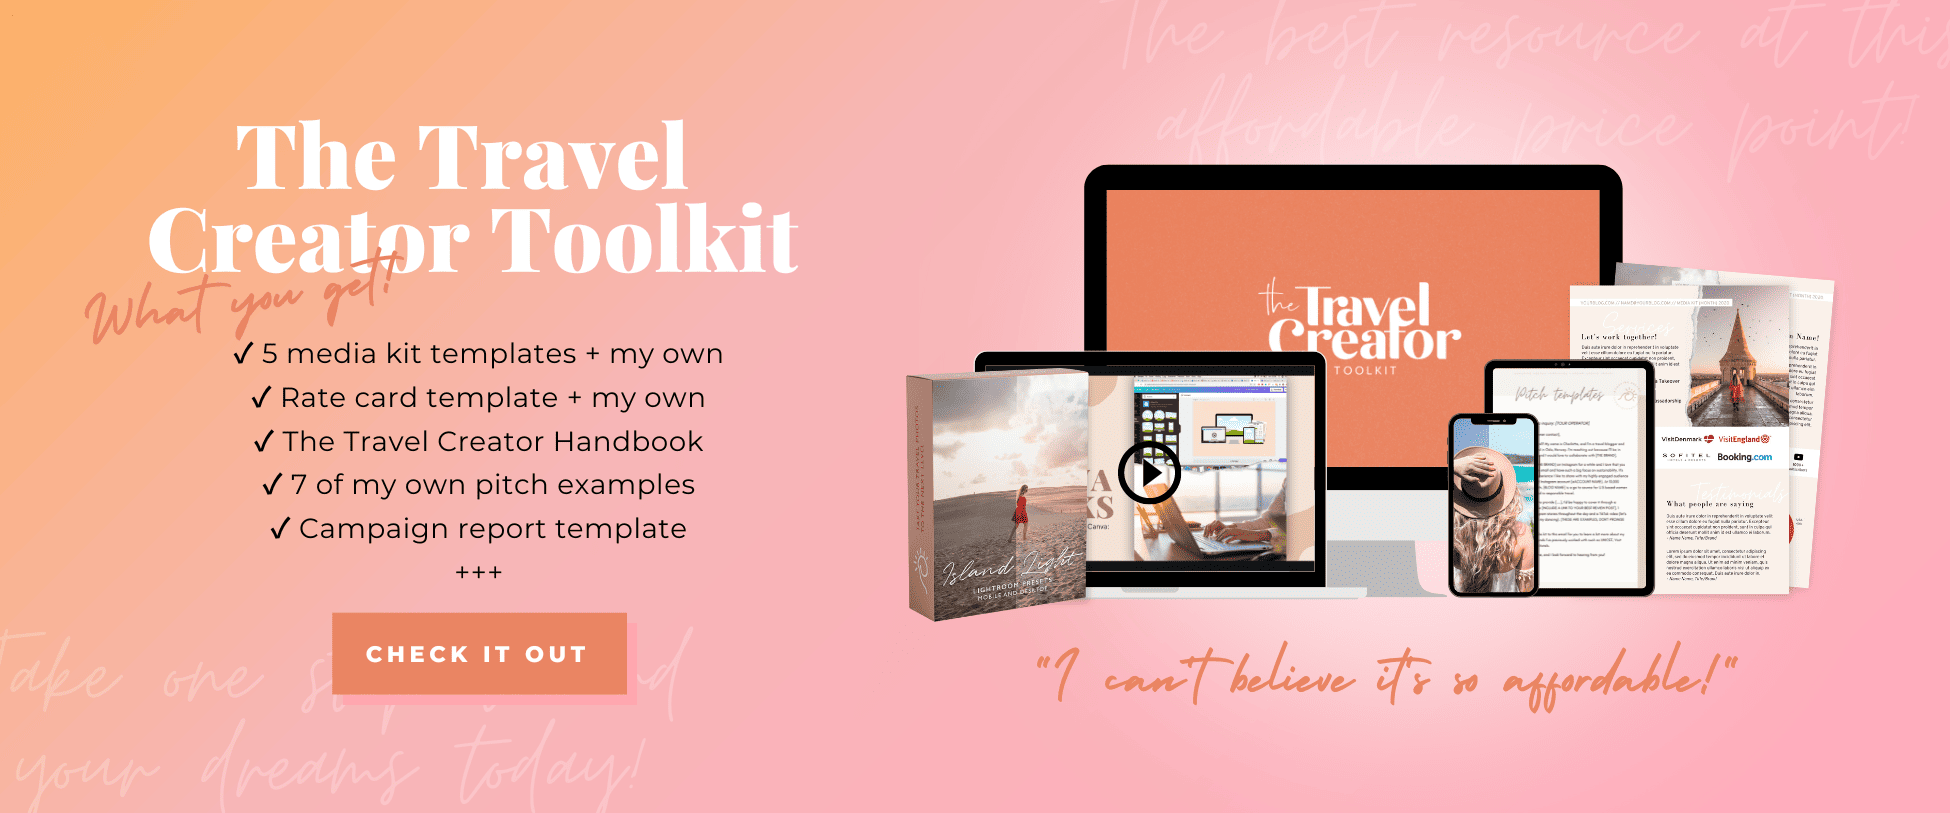
You’ll find all my personal templates in the Travel Creator Toolkit. I decided to combine my 8 years of travel blogging and graphic design experience into this one offer, so you can get great results faster than I did.
In addition to 5 different Canva media kit templates, I have also included my go-to pitch templates, the “Island Light” Lightroom preset collection, an affiliate marketing guide, the Travel Creator Handbook, my own media kit and rate card ++.
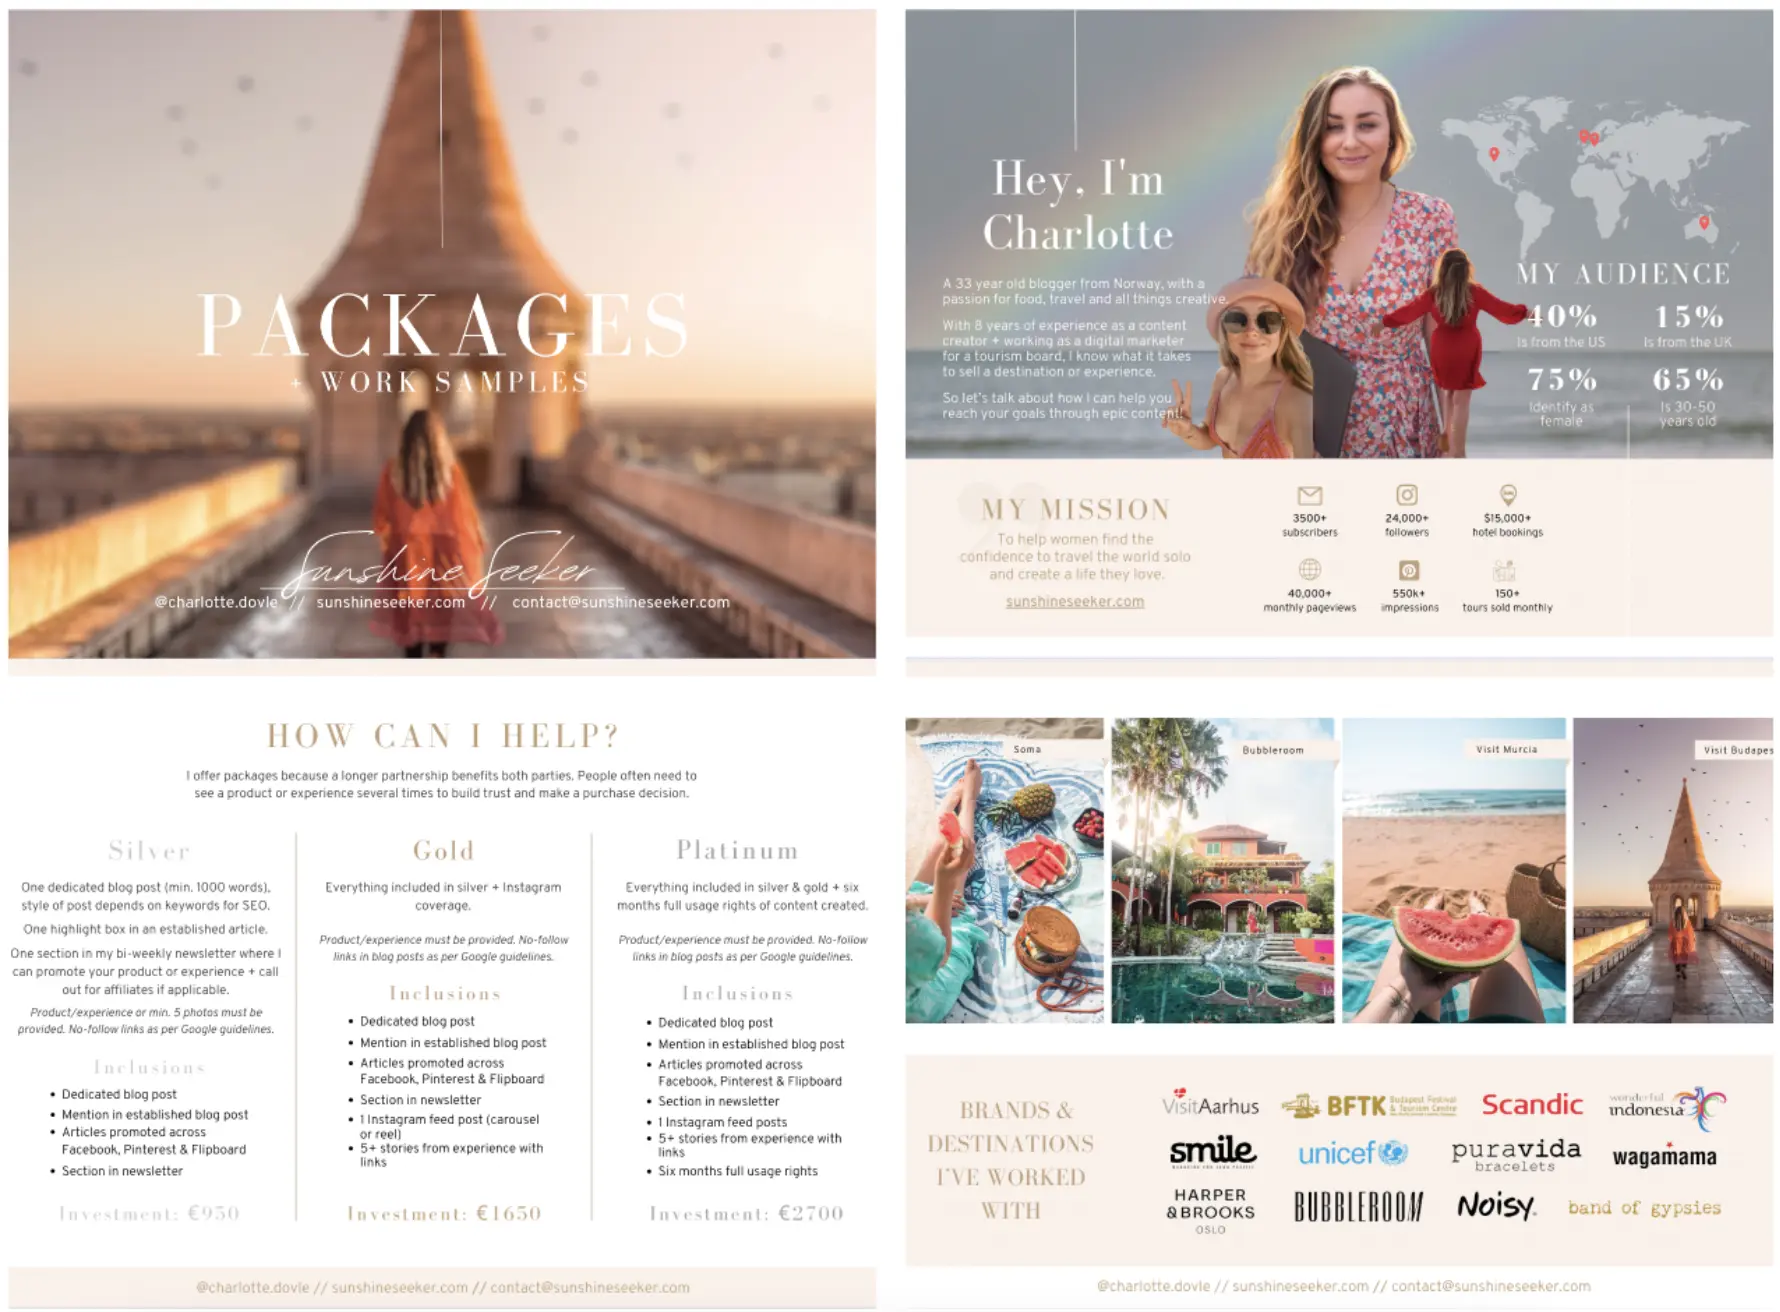
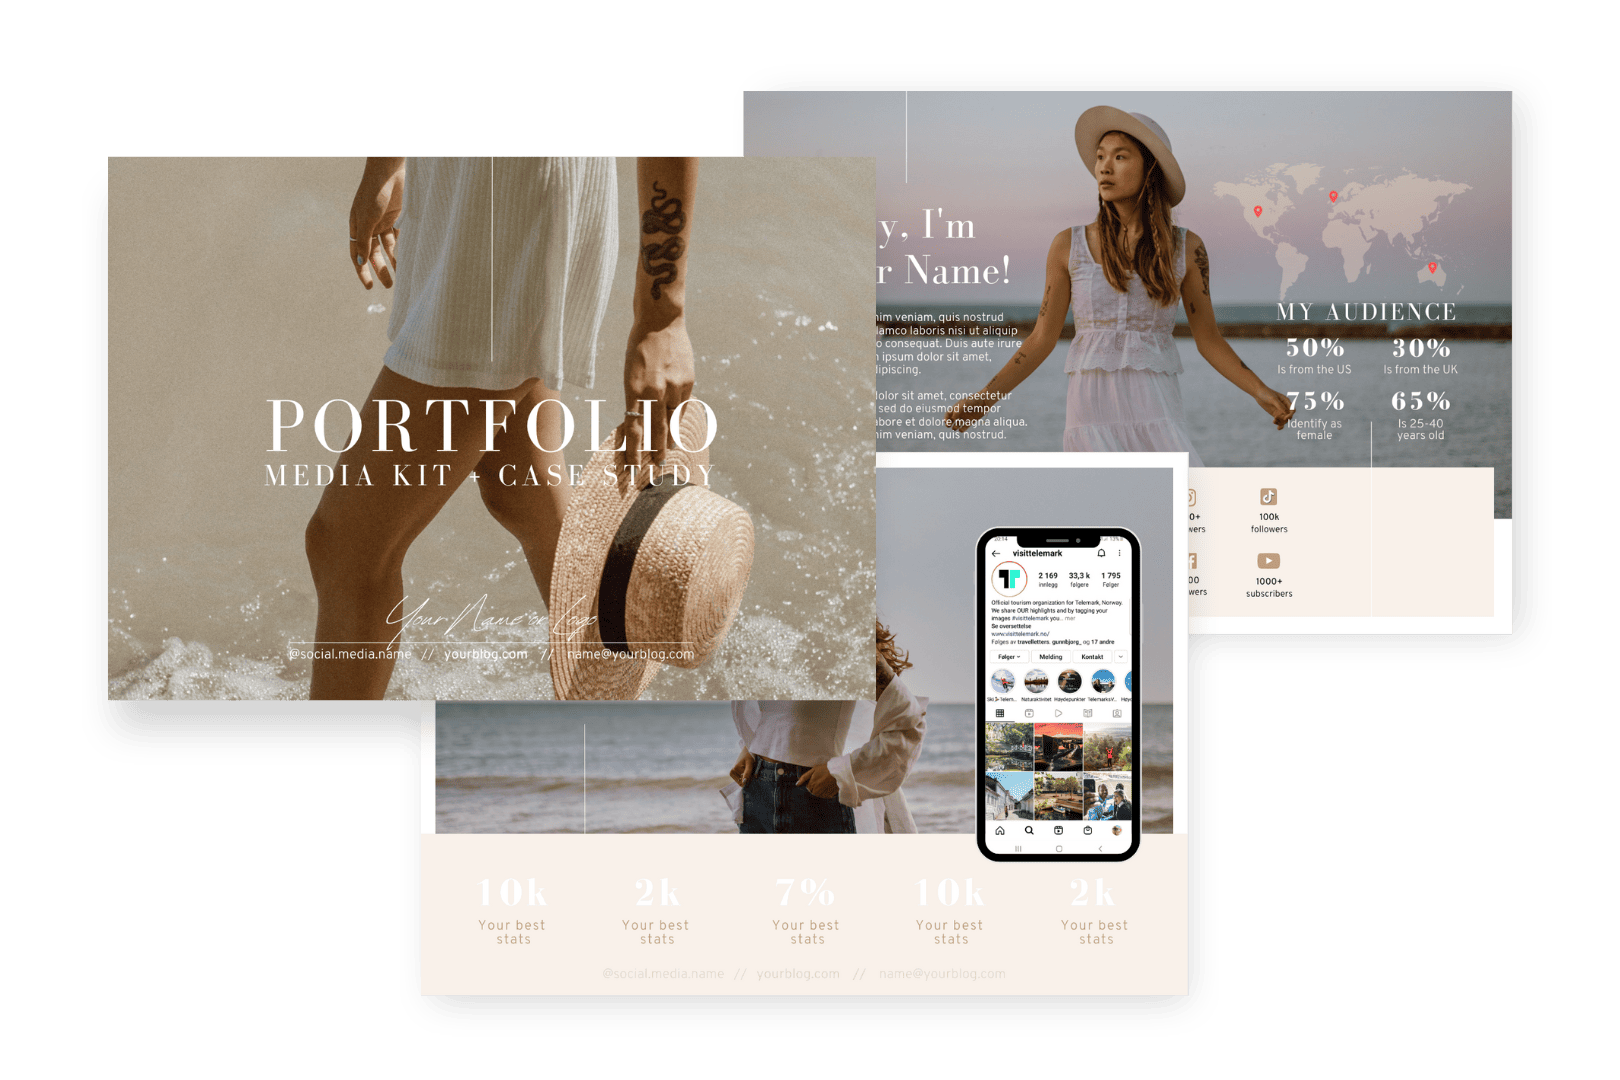
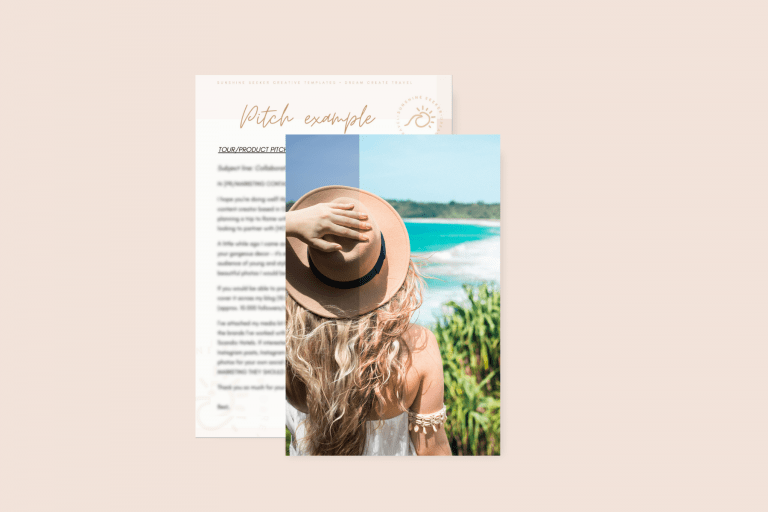
Above you can see how I used the templates in the Travel Creator Toolkit to put together a short hybrid between a media kit and packages/services document. The brand asked specifically to look at my different promo options so I included parts of my media kit in it to not overwhelm them with many different documents.
How many pages should a media kit be?
I see this question asked a lot and I don’t think there’s a one-size-fits-all answer here. Keep in mind that the people who are going to look at your media kit are all different and probably have different views on what the perfect media kit looks like.
Some might like a quick one-page document that only takes a few minutes to glance over and some might like a more thorough presentation of your brand with case studies of previous work.
When you’re first starting out I’ve personally found that a 2-page media kit works really well. That way the information isn’t squashed together and you’re able to show several of your best photos.
All the most important information about your brand and audience is clearly visible on the first page and then if the brand wants to know more they can scroll down to check out your “bragging page” with previous work and examples.
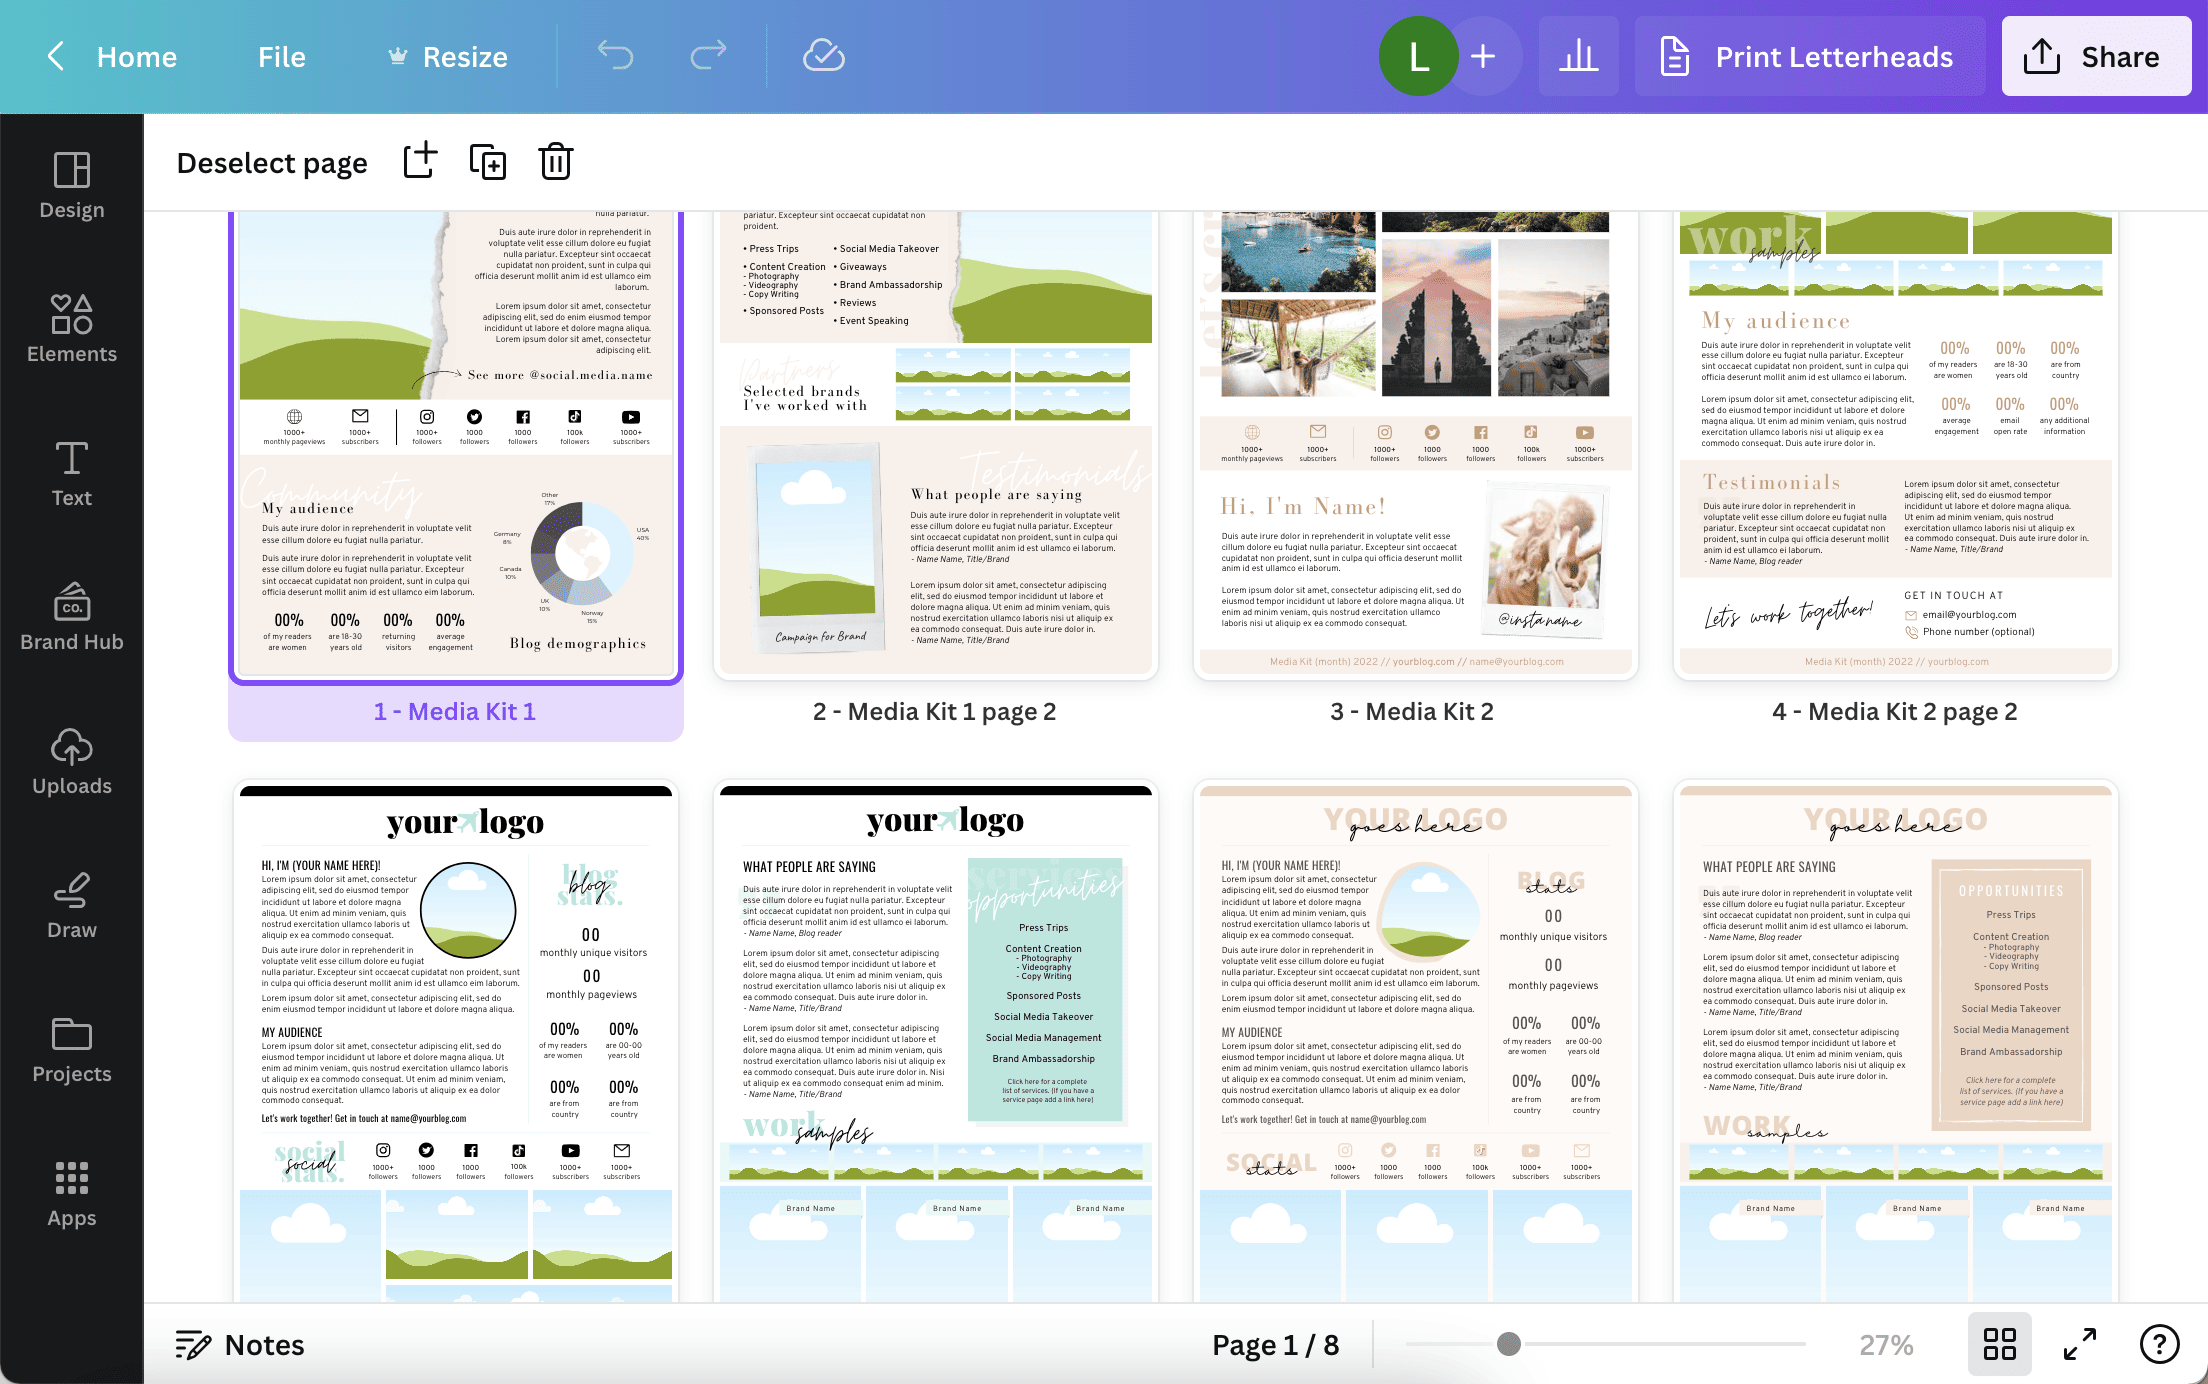
When you have more work and content to showcase, a media kit/case study/portfolio hybrid is the best choice. The one below is one of my favorite designs ever and it’s included in the Travel Creator Toolkit.
What to include in your media kit
Media kits are meant to be flexible working documents, so always have a standard media kit and then you can edit that based on who you’re pitching to.
If I’m pitching a hotel in Bali I would talk about how much my audience loves content from Bali and include more tropical photos and examples of previous hotel collaborations. Or if I’m pitching a tour company in Norway I would, of course, include more outdoorsy photos and maybe link to my best tour or activity review posts.
Since your stats and demographics likely change as often as social media algorithms do these days, make sure to consistently update your media kit. I like to include somewhere when it was last updated just by including one line: Media Kit Sunshine Seeker 2024.
But for now, let’s work on your standard media kit and go through what should be included in it.
1. A short bio
This is your chance to shine and capture the brand, hotel or destination’s attention. They will of course want to know more about the person that’s reaching out to them.
Give them good reasons as to why they should choose you over someone else. You want the brand to read your bio and think; yes, this blogger/influencer would definitely be a great fit for us!
Tell them about yourself, where you are based, how long you have been doing this, what kind of content you create, your blog mission and what makes you special. And any other information you think potential partners would find interesting and useful. Just don’t be too salesy or write an entire essay.
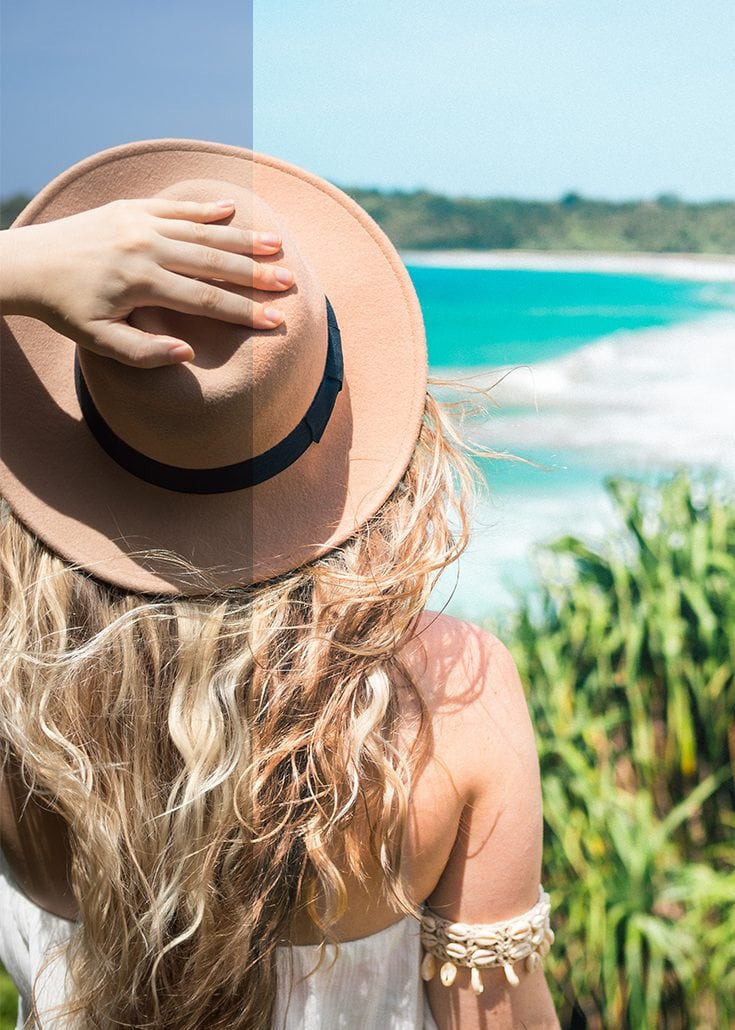
Keep it short, to the point and be personable! If you zoom in on my example above you can read mine. In my media kit templates, I have allotted two and three short paragraphs for the bio.
2. Audience
I like to include one paragraph about my audience and the demographics stats I highlight. Just a few sentences about who my audience is and their main interests. And, of course, what kind of content they love to see and engage with.
Read next >> How I edit my travel photos + free Lightroom preset
3. Photos & colors
As you’ll see, media kits include a lot of boring text and numbers. Or the text shouldn’t be boring but it can look that way if you don’t add something else. Break it up using photos and colors that represent your blog and style. Show your potential brand partner who you are in a visual way.
I get most of my jobs because of my photography which is why I have included lots of photos in my media kit. Whether it’s photographing a product or hotel to post on my own channels or shooting high-quality photos for brands to use in their marketing campaigns.
Photos are a big part of my business as they probably are for most travel bloggers and Instagrammers. So don’t be afraid to go heavy on the photos and include at least one where they can clearly see you and your beautiful face.
4. Your numbers
As with any business, brands will want to know what kind of return they will get on their investment. Therefore you should clearly display your blog and social media numbers like followers, engagement rates, reach, e-mail subscribers, monthly readers and/or pageviews and so on.
I usually add one number for each of my social channels. The stats you mention may not paint the whole picture, but they’ll give some indication about the size of your audience and the reach they can expect.
As I mentioned earlier you should also highlight some audience demographics. Where do most of them come from, how old are they and are they male or female? 85% of my audience lives in the UK, 67% of my readers are between 18-30 years old, 75% of my readers identify as female, etc.
Brands are of course eager to know this information to see if your readers match their target audience. For example, it doesn’t make sense for a luxury hotel chain to work with a budget travel blogger who mainly writes about backpacking and hostels. Because their audience probably doesn’t have the money to book a stay in an all-inclusive resort nor would they want to.
Keep in mind that you don’t have to share all your accounts if they don’t add any value. If you have a social media statistic that is far lower than your other ones, just leave it out. Or look at different numbers. I have included my blog’s Facebook page but I have focused on my high engagement rate because I have very few followers on Facebook.
And if you’re completely new to blogging you may not have impressive numbers to share, but you probably do have some growth worth mentioning. An example could be, “in the past month, I grew my Instagram following by 500%”. Or focus on your engagement rates which are probably quite high because you don’t have a high number of followers.
5. Collaboration opportunities/services
Even though we define ourselves as travel bloggers or content creators, we are all different with our own unique skillsets. And a media kit is the perfect place to highlight these strengths and let potential brand partners know what types of services you offer.
For example, do you offer product photography, social media takeovers, video production, photo editing or maybe a package where you combine different services? You don’t have to list the same things as everyone else, highlight any special services that set you apart from other creators.
Maybe you specialize in video reviews for hotels or maybe you have created several viral TikTok videos. Brands are always looking for new and creative ways to market themselves so try to be as original as possible.
And then there’s the question of whether or not to include rates for the specific services you offer in the media kit or if you should quote brands on a case-by-case basis. Since every brand has different goals and budgets, not every partnership or collaboration is treated equally.
I personally never include my rates when I pitch a cold lead, only when I have previously spoken to someone and gauged their interest in working with me. These days I often send my rates in a proposal with a few different packages. But, of course, it’s totally up to you what you choose to do.
6. Testimonials & previous work
This is where you convince the brand to choose you with raving reviews and beautiful photography. You’re a content creator, right? So now it’s time to show off what you can do!
In my media kit, I have 3 examples of my favorite brand work along with a few of what I consider to be my best photos. I have also included the names of the 4-5 biggest brands I’ve worked with.
It’s good to think of this section of your media kit almost as a portfolio of your best work. And of course, be sure to highlight any press or features your blog or social media accounts have received.
If you haven’t worked with any brands yet you can still showcase your best photos to give the brand an idea of what you can do. Maybe you go hiking a lot and have a beautiful photo in the woods with a brand jacket or new hiking shoes.
Or book a stay at a hotel that inspires you and focus on creating some great content you can show off. The idea is just to highlight how you would create content around the product or destination in question and what the brand can expect if they choose to work with you.
The same goes for testimonials from the previous brands you’ve worked with. This section will give your work even more credibility and show a brand that you’re not only creative but also professional and a pleasure to work with. You can also include comments from blog readers and DM’s from people you have helped or inspired with your content.
7. Contact info
Last but not least, don’t forget to include contact info so that the brand can easily reach you. I have a line on each page with a link to my email, blog and main social channel.
Since I mainly work with international brands and prefer to communicate over e-mail, I don’t list my phone number. If you don’t mind jumping on a call with brands then definitely list your number as well.
🌟 If you want to finish your media kit today, be sure to check out the Travel Creator Toolkit!
Remember to pin this for later 😉


Hello,
I am looking to have my media kit created. I have outlined everything that will go into it but do not know how to make it.
I understand that you provide templates; I am curious if this is something you create, as I have been trying to find someone to make one for me.
Yes, I provide media kit templates in my Travel Creator Toolkit. You also get my own as an example. I do not make them for people, it is super easy to do yourself in Canva. If you don’t want to pay for a template, there are free ones available in Canva.